Monday, November 19, 2012

Remi's First Ride

I realized I had posted these pics on Facebook but never blogged about them. Time is passing me faster than I can think...almost!

Two weeks ago when Remi visited I fulfilled a promise I had made to her the previous trip that I would let her ride Clyde. I had introduced her to him and she had petted him but that day I didn't have time to let her ride. Keannon and Vanessa had an appointment that would be easier without the girls so I had them. Kennedy was at Mother's Day out (which she refers to as "school"). Before I picked her up, Remi and I got some alone time and what did Remi what to do? Stamp! I think I have started a love affair between Remi and stamping! So we go into my craft room to do just that until time to pick up sister.
She does a great job of making good impressions and rarely gets ink on herself! I think that's pretty darn good for an almost 4 yr old. I still get ink all over myself when I'm stamping! Sorry the picture blurred. I was trying to take this without her knowing and I had the flash off. Here's a close up of her work.
Her Mommy has done a really good job of teaching her the alphabet and how to spell her name. She did this all by herself!

She's one happy girl and not the least bit afraid! They both helped me groom him but I didn't take pics...I had my hands full with two little girls and one big horse making sure everyone stayed safe!
They took turns riding in the front. They starting singing. It was so darn cute! I finally thought to video a little bit of it. Here it is.
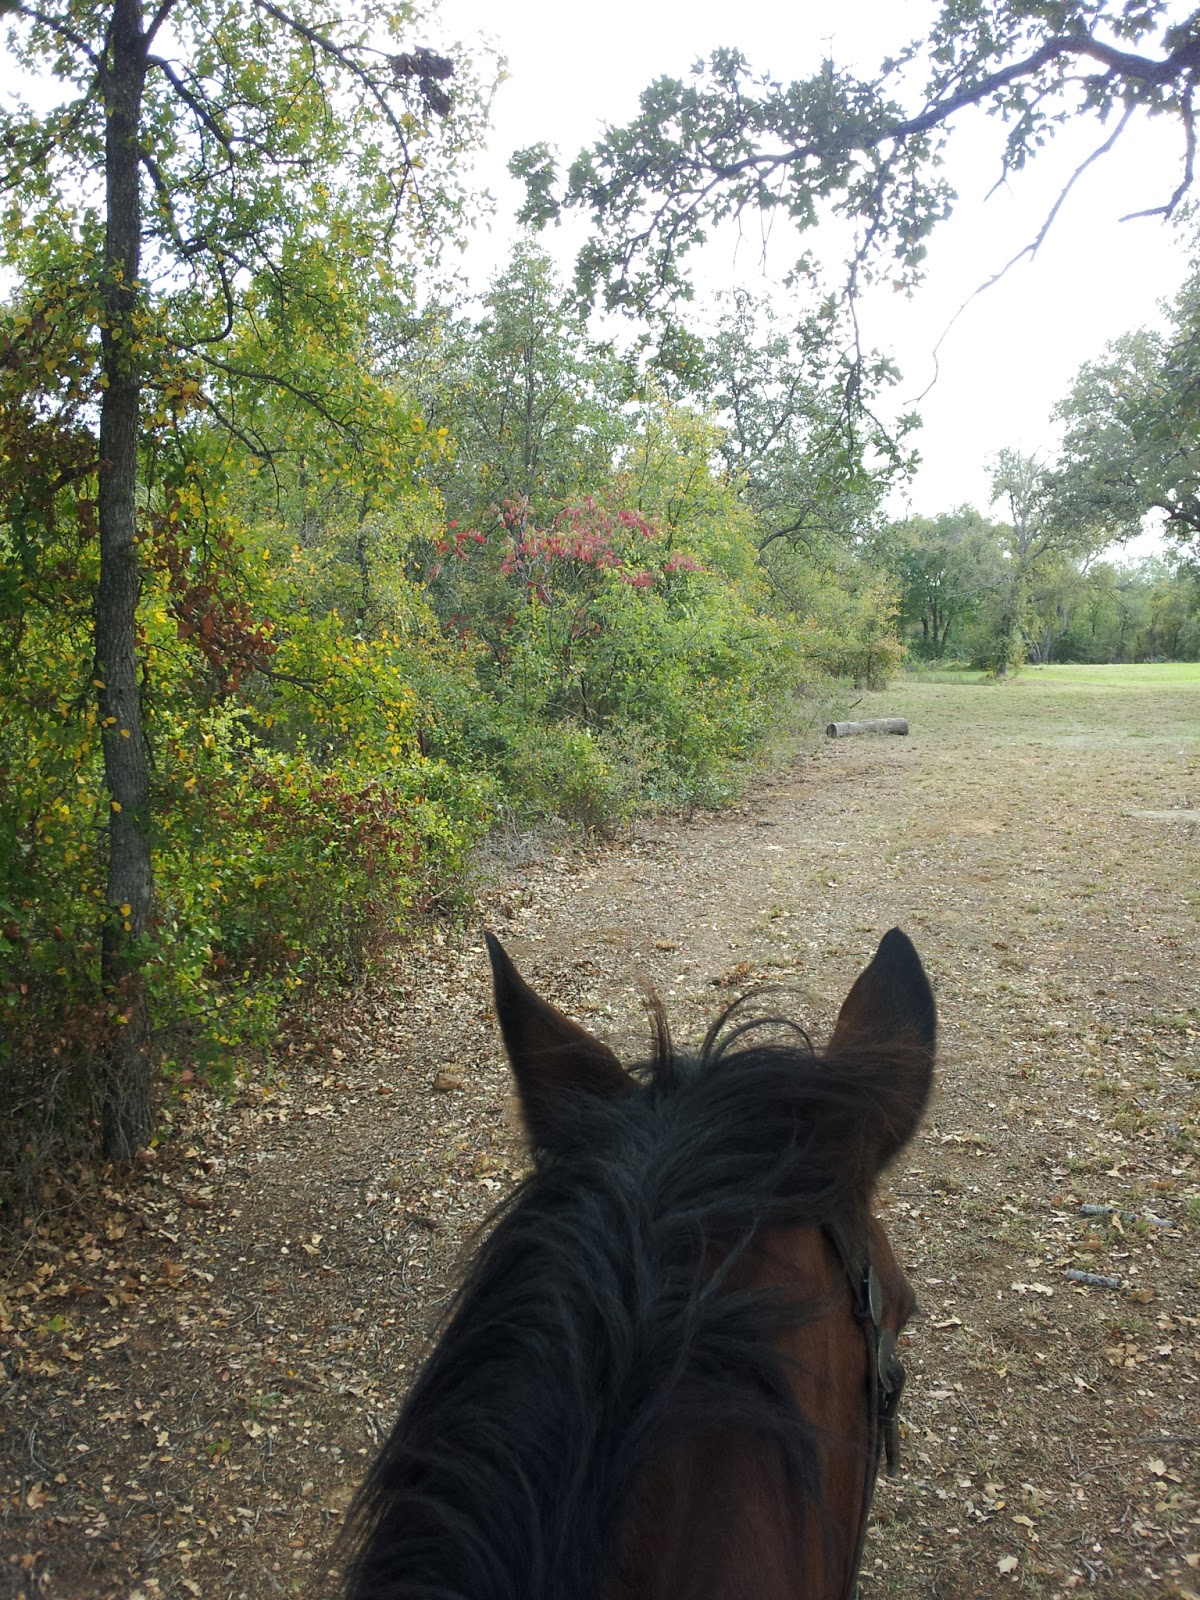
I'm off to go ride at the park. I should be staying home to get ready for the holidays.  I did make myself clean one room of the house before I allowed myself this pleasure. It's just so pretty and I figure this will be the only opportunity I may get!

Have a good one!


Wednesday, November 14, 2012

Post Retreat

I got back Sunday afternoon from a 4 day scrapbook retreat. I had a blast. As usual, I took too much stuff. I have been trying to plan for these better by deciding on what projects I'm going to work on ahead of time but that just didn't happen.

I met some new people, got better acquainted with some others, learned some new things, ate wonderfully home-cooked food, enjoyed some amazing sunsets, laughed so hard I couldn't breathe and did some crafting. All in all it was a pretty productive weekend.

One of my dear scrapbook friends and fellow horse lover had a birthday the first day of the retreat. I made her this card.
I've used this image before on another card I made not too long ago. It's a Mo Manning image. I just love it! I colored it with my copic markers, used some MME patterned paper and some ribbon from my stash.

I did get some page layouts done. I also made some Christmas cards.
I stamped with the star with Versa Mark and heat embossed with white embossing powder. Then I stamp the word "joy" with Versa Mark and heat embossed with gold embossing powder. The ribbon is from my stash. I'm still playing with this one. I'm thinking about using a white background and embossing the star with red then the word "joy" with gold.

I also made a tag. I had hoped to make more but I lost my momentum.
The entire scene is an embossing folder. I colored the image using a blender pen and my TH Distress inks. I then used liquid pearl for the white on the penguin and the Santa hat. I used stickles on the snowflakes, the ornaments on the tree and the snow on the ground. I used my blending tool to add a little color on the rest of the tag.

Monday night I made a birthday card for my granddaughter Remi. Her birthday is Thursday and I needed to get it in the mail Tuesday so she would get it in time.


I used Seems A Little Sketchy: Sketch 26 for this card. The papers are Authentique "Lively". The image is a rubber stamp I purchased at my LSS Cat's Creations. I don't know what company. I colored with my copic markers and fussy cut her out. I used a Spellbinders die behind her. The ribbon is from my stash.

After reading my friend Sandy's blog I decided to do a card for Clear It Out Challenge. The challenge is to use red from your stash and anything goes. Since I need to make Christmas cards, I pulled some scraps from my Christmas box.
This is more of a burgundy than a bright red. The ribbon is also burgundy. I circle cut the "Happy Holidays". The paper is We R Memory Keepers. These papers were left over from making my mother a little Christmas book of last year. I think it turned out kinda cute.

It's WOW Wednesday at Cat's Creations blog. Blog candy is the prize to a random commenter to mine or any other blogs linked up to Cat's so check them all out. If you have a blog, be sure to link up. We would love to see your creations!

Have a good one!


Wednesday, November 7, 2012

My Christmas Tag Creations and WOW Wednesday

UPDATE: See bottom of post

Welcome to my creative corner of the universe! It's Wednesday and if you have been following me you know what that means! If you haven't....it's WOW Wednesday at Cat's Creations! Today I am sharing the tags I have made since taking two of the three Tim Holtz Christmas Tags taught by a dear friend and extremely creative Nanci!

Nanci showed us the techniques and the tags she made then she turned us loose and STRONGLY encouraged us not to copy her but do our "own thing". It was so much fun to see what others were creating!

Here are the tags I made from the first class.
We actually made three tags that day. I didn't feel well so I didn't finish these until I got home. I finished the 3rd during the next class.  I used an embossing folder for the one on the left. I first applied Distress ink Festive Berries with a blending tool. Then I embossed the tag and applied Distress ink "mowed Lawn" by lightly brushing the pad over the raised areas and finished by inking the edges with Walnut stain. I used a TH diecut for the deer and inked with vintage photo and walnut stain. I added ribbon and some bells that I bought at the dollar store.

The other tag I used Tumbled Glass and Broken China for the background. I used the cut out of the deer as a mask to ink the deer image on the tag with Walnut stain. I then inked the diecut deer with the same ink not using as much ink so to make the image lighter in color. I added dimensional adhesive to the light colored deer. The "Noel" is a diecut that I inked with several coats of Walnut stain almost giving it a "black appearance" then covered in red Stickles. I also added some ivy leaves from a diecut and berries from some Christmas decorations I bought at the dollar store.  I added some sparkle tule and a TH Christmas Token.

This one was first inked with Distress Ink Tumbled Glass. I then used the snowflake embossing folder and inked the raised snowflakes with Distress Ink Broken China and Distress Ink Walnut stain on the edges. I stamped the snowman with Distress Ink Broken China and cut him out. Using a water brush I pulled some ink from the Distress Ink Walnut stain to give color to the snowman's arms and a touch of Distress Ink Marmalade for his nose. I used a black bling for his eye and heat embossed his hat with black embossing powder. He still didn't stand out very good from the tag so I went back and matted him with some cream paper which helped tremendously. I die cut the pine trees from a TH die and applied Distress Ink Pine Needles and Walnut Stain. I added Frosted Lace Stickles on the snowman, some of the large flakes on the tag and on the trees. I cut the banner out with a TH die. The word "festive" was cut from a paper embossed using a TH embossing folder with Christmas words and inked with Distress Festive Berries and the edges Walnut Stain. I put foam tape behind the word for some dimension.


I made this tag during the second class but didn't finish it until I got home. I used a music embossing folder for the background and inked with Distress Walnut Stain. (Can you tell I really like this ink?!) It was fun to make the glass embellishments. Don't remember what the proper term for this technique is but you take clear packaging tape and apply it to an image on paper you want to use. Cut it out and then put in water gently rubbing until the paper comes off and all that remains is the image. Apply adhesive foil to the back of the image, then put a little glossy accents on the image and adhere the clear shape cutting off the excess. I added twine and glued them to the tag. The sentiment "Joy to the World" is from the new TH diecut. I heat embossed it with Gold. I made the banner from another TH die and embossed with the same embossing folder and then inked with Distress "Barn Door".


I Love how this tag turned out! It took three tries to get this one the way I wanted it but the finished product was worth it! Using VersaMark I stamped with a TH snowflakes and heat embossed with clear embossing powder. I then inked with Distress Broken China where I wanted sky, inked with Pine Needles where the trees would be and the Walnut Stain for the tree trunks. Then I put the tag in an embossing folder of just trees. I went over the embossed areas with the same inks to give distinction to the embossed areas. The deer is from Stampers Anonymous TH collection  "Seasons Silhouettes". I tied to mini bells to the deers neck. Stamped "Merry Christmas" on his body and added foam tape for dimension. I also added some flock to his back and on the ground for snow.


This one was fun to do. These Cardinals stamps are from Stampendous. These are large stamps and I just LOVE them! I colored these beauties with my Copic Markers cut them out and added glossy accents to help them stand out. I covered the tag with Distress Broken China. I used Distress Pine Needles and Walnut Stain in the appropriate areas.  I then put the tag in a new TH embossing folder of a pine tree limb and pine cone and used Walnut Stain all the way around the edges. The remainder items on the tag (except the ribbon) I bought at the Dollar store and glued on with 3-n-1 glue. I used gold embossing powder to add "Seasons Greetings" from Stampin' Up.

I hope you enjoy seeing these tags as much as I enjoyed making them! I look forward to hanging some of these on my tree this year!

Cat's Creations is offering blog candy to a random commenter so be sure to leave me a comment. Then go to Cat's and comment on other blogs. More chances that way! If you have a blog...link up over at Cat's for more chances to win some blog candy! 

Tuesday, November 6, 2012

Holiday Card Workshop Day 3

I am enjoying taking the Holiday Card Workshop and learning a lot! It's actually day 6 of the class but I'm only up to day 3 for putting what I'm learning into practice.

Kristina Werner taught a cool technique for making a background for a card using scoring lines! I used too many score lines on my first attempt but it still turned out acceptable to me.


The class example used Kraft paper for the card base but I didn't have any so I found card stock that was close in color. The scored background I inked with my blending tool using Distressed Ink Peacock.

I used ornament stamps from three different companies. The far left is from a Unity set, the middle I have no idea. It is a clear acrylic stamp and the far right is from a Stampin' Up set. I used a silver glitter pen to draw the strings, silver Stickles for the toppers and glossy accents on the ornaments. The sentiment I don't no where I got it either it was also a clear acrylic stamp. I heat embossed "Happy Holidays" with white embossing powder. I used a white gel pen to draw a line around the card.

The next card for Day 3's class was taught by Julie Ebersole. I really didn't use the techniques she demonstrated in this class mainly because I already had this paper dry embossed from a previous project and wanted to use it. Julie's main focus of her card was also dry embossed but she used Copic Markers on hers. I have also been taking a Christmas Tag Class using Tim Holtz techniques at my LSS Cat's Creations so I've been playing with my distress inks, diecuts and embossing folders. Here's my card.


The embossed piece I had already inked with red (don't remember for sure but think it was "Festive Berries") during the tag class this past Saturday. I had embossed a piece of a file folder so it was already a manilla color. I cut it down to fit on a 4.25x 5.5 card. I rounded the corners, distressed the edges and inked with Distress Ink Forest Moss then attached with dimensional adhesive. The DP is from Authentique. The ivy leaves and berries are from a Tim Holtz die. I used glitter paper for the berries. Although my card base was cream it still looked too "clean" so I used Distress Ink Vintage Photo. I also used Forest Moss on the ivy leaves.

I have got to pack for the retreat! I have been in such a creative mode it's been hard to pack much stuff! Hope I can keep this mojo going! I can hardly wait!

I will be sharing the tags I have created from the classes and at home on Wednesday's blog so stay tuned!

Have a good one!

Monday, November 5, 2012

Holiday Card Workshop Day 2

Here is my card from Day 2 instruction by Jennifer McGuire. Once again I don't have the items she used. I would recommend getting the items she used if you want to make several of this card. What I did to try to duplicate what she did was very time consuming! I still learned some things and that is the goal!

I used an Obsession Impressions background stamp, stamped with VersaMark ink and heat embossed with clear embossing powder. I really like this look!

The white scalloped edges I used a border punch. In the class a thin scalloped diecut was used. Jennifer also used a diecut for the ornament. I had a Tim Holtz Alterations Die that was ornaments but because there were two ornaments on the die I could not diecut the paper where I wanted the cut out. So I used a 2 1/2 inch circle punch. A diecut was used for the heart as well. Once again I used a punch.

I had some silver glitter paper and using the TH Alterations ornaments die I cut the ornament topper for this card.

I heat embossed the sentiment with American Crafts glitter embossing powder. Foam tape is between the sentiment and the heart.  There is a cut out in the front of the card. The idea is to idea a photo behind the heart but I didn't get that far. Here is another view of the card.


It is a cool looking card but if I decide to make more of these I will definitely buy the items used to make this process easier!

I have a lot to do to get ready for a scrapbook retreat on Thursday!

Have a good one!


Wednesday, October 31, 2012

Holiday Card Workshop Day 1 and WOW Wednesday

I signed up to do an online card class after hearing about it on OWHtv and reading about it on Sandy Allnock blog. Since I need to start making my OWN Christmas cards I thought this would be fun and get some cards made. It's not too late to sign up and once you take the class you can go back anytime afterward to view the videos or down load PDF's. It's a win-win!

It's Day 3 of the class so I'm a bit behind. Not in viewing the instruction but in practicing my techniques by making my own.

It's also WOW Wednesday at Cat's Creations. You have a chance to win some blog candy if you leave me a comment and you get another chance if you link up your blog to Cat's Creations blog. Check out the others who have linked up. You won't be disappointed! I find great inspiration but visiting!

On to my blog...

Day 1 first class was taught by Kristina Werner. I didn't have the supplies she used but they do encourage you to use what you have on hand but supply a list of what they use. She made a 3x3 gift card. It was a lot harder for me than I thought. 3x3 is REALLY small! Kristina said these are great for gift cards.

She used a Lawn Fawn Winter Owl stamp set. I had this owl from Unity that I used. He was almost too big for this card! I colored him with my Copic Markers E53, E55 and E57. For his nose I used Y38. I thought it would be fun to add some googly eyes as I plan to give this cards to my granddaughters. I made my sentiment using my Just Rite Alpha stamps 15pt and 25pt. The word Christmas was a Unity stamp that said "Merry Christmas" and I only inked the word Christmas. To coordinate the stamped paper with the brown tones in my printed paper I used my blending tool and Tim Holtz distress ink "Antique Linen". I hand stitched the edge using We R  Memory Keepers "Seweasy Fancy Floss - grasshopper" (glitter tertiary).

She also showed how to make envelopes for these cards but I did not have the tool she used to do that. I may try to figure it out later.

The next class was taught by Jennifer McGuire. She gave some tips on making multiple stamped cards. This was way cool and easier than it looks.

The first step is to "mask off the area where the sentiment goes. I didn't have the Eclipse Masking sheets that Jennifer used so I used 1/2 inch trendy tape from Queen & Co and used two rows to get the proper width.

This is where the Fiskars Stamp Press I got from Cat's came in handy! There are two sizes and I have both but I prefer the smaller on and that's what I used for this card.
The orange circles are foam which hold the stamp press up until you want to stamp and then they give when you press down. Pretty cool concept.

This technique will only work with clear or cling foam stamps. My first card I stamped the images individually. To make the other cards place the stamps on the images with the same ink then place the stamp press over the top and press until the stamps cling to the press. Then ink the stamps and press on the paper. Do that step for each ink color used.

I used Tim Holtz Distress ink "Weathered Wood", "Tumbled Glass" and "Broken China" and snowflake stamps from Hero Arts that I also got from my LSS (Cat's).

I stamped the sentiment with a SU stamp. The hearts are from American Crafts Stamp Collection "Clear Stamp Blue Skies" and used TH Distress ink "Festive Berries". I also scored the sentiment paper to give it some interest.

Ok...I'm off to do my homework for Day 2 and watch Day 3's instruction. Have a good one!


Monday, October 29, 2012

Card Box Completed and Afternoon Fall Ride

The card box I am referring to is not the one I did for my mother. It's the one that inspired me to do one for my mother. The one I started as my own card box in a class two months ago!


Still not sure I'm all that happy with it but it's glued down now.

I also made a card for my granddaughter Remi.

This image is from Sliekje Digi Stamps. I just lover her images and they are free! Makes me like them even better! I colored with my Copic Markers then put glossy accents on the butterflies and on the kitty's eye.


I also made a card for my Dad's birthday.
I used a sketch# 122 from Catch The Bug Challenge Blog. If I read the challenge rules correctly I have to use a bugaboo stamp to enter their challenge so I am not entering this card. I liked the sketch though and wanted to give credit where it's do! The papers I used are Authentique and the image is from SU. I heat embossed "happy birthday" and added three gold brads on the other end of the sentiment.

Now on to my adventure! I had gone to ride. I took Kaidence with me. I went to the barn for Clyde's halter. I was leading him to the gate when he began to snort and be antsy. I started looking around as I knew something had alarmed him when I saw Kaidence sniffing at something in the road. Then I saw it....
I yelled at her to get away not realizing the snake was dead. I thought perhaps he was sunning himself on the pavement. I wondered by Kaidence hadn't disturbed him when she went to investigate. I lead Clyde to the trailer. To get there I had to lead Clyde by the snake (a safe distance away) snorting and prancing all the way! I tied him to the trailer and went to get a rake to either kill or move him. It was then I realized he was dead yet I saw no reason for him to be dead.
I picked him up and moved him off the road. When I laid him in a grassy area behind the truck I noticed a bit of blood on the underside of his mouth. The only thing I can figure is I must have run over him when I drove up.
The snake was on the road behind where Kaidence is standing.

Pretty fall day.

Kaidence got a work out but she loves to go with me.

After our ride. Something has his attention. He is still good looking for 22!

Have a good one!